Once your email is confirmed, you’ll be directed to set up your first workspace. Orta provides workspace categories to match both your educational and professional requirements.
Here’s how to set up your first Workspace:
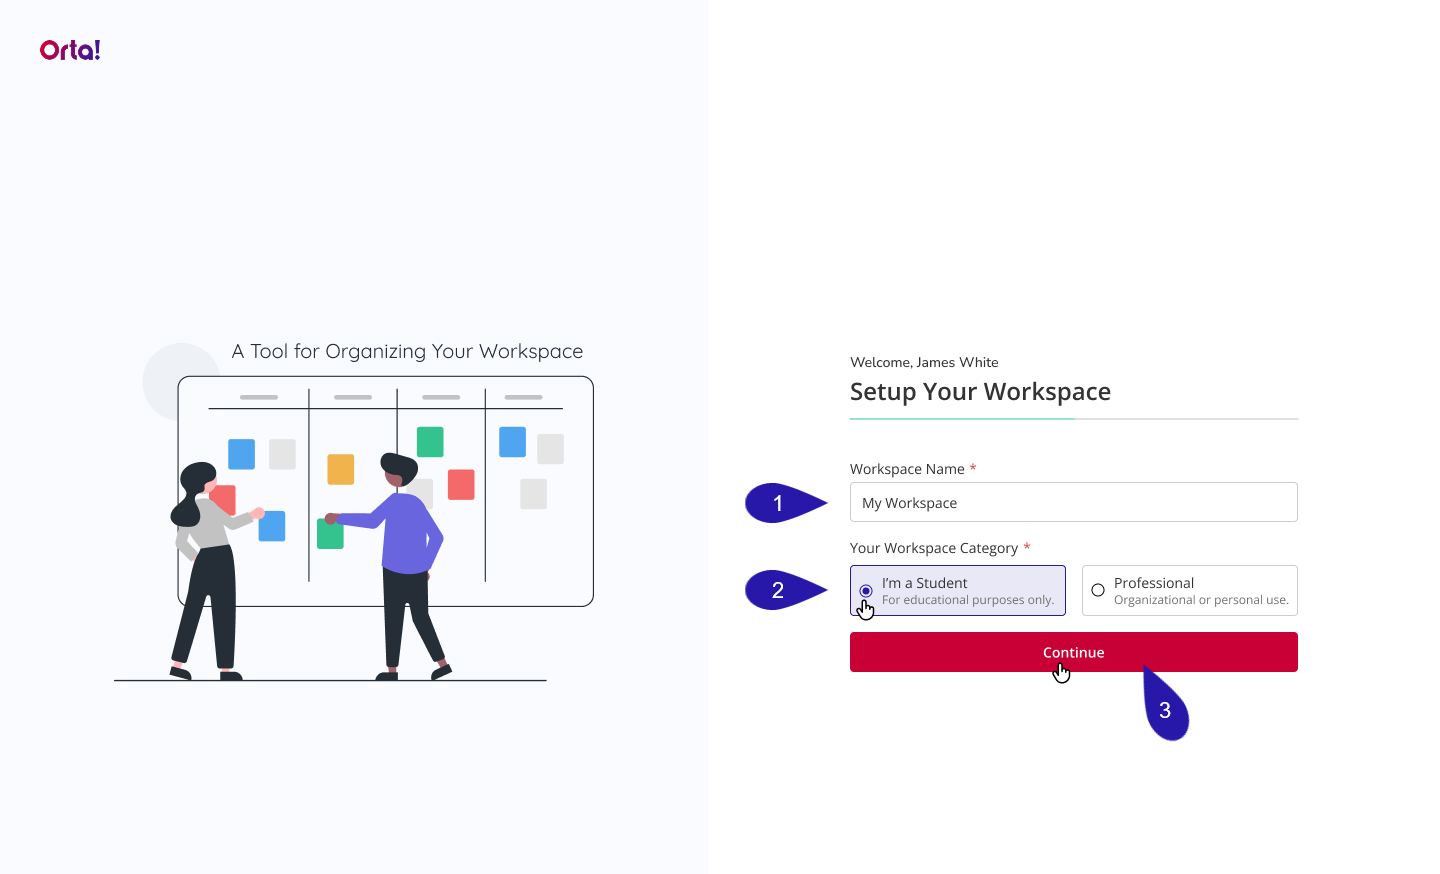
For Student:
1. Enter a Workspace Name:
- Type a name in the Workspace Name text box .
2. Select Workspace Category:
- Choose a workspace category based on your needs(e.g., select I’m a Student).
3. Finalize Creation:
- Click Continue to finish creating your first workspace.
For Professional:
1. Enter a Workspace Name:
- Type a name in the Workspace Name text box .
2. Select Workspace Category:
- Choose a workspace category based on your needs.(e.g., select Professional).
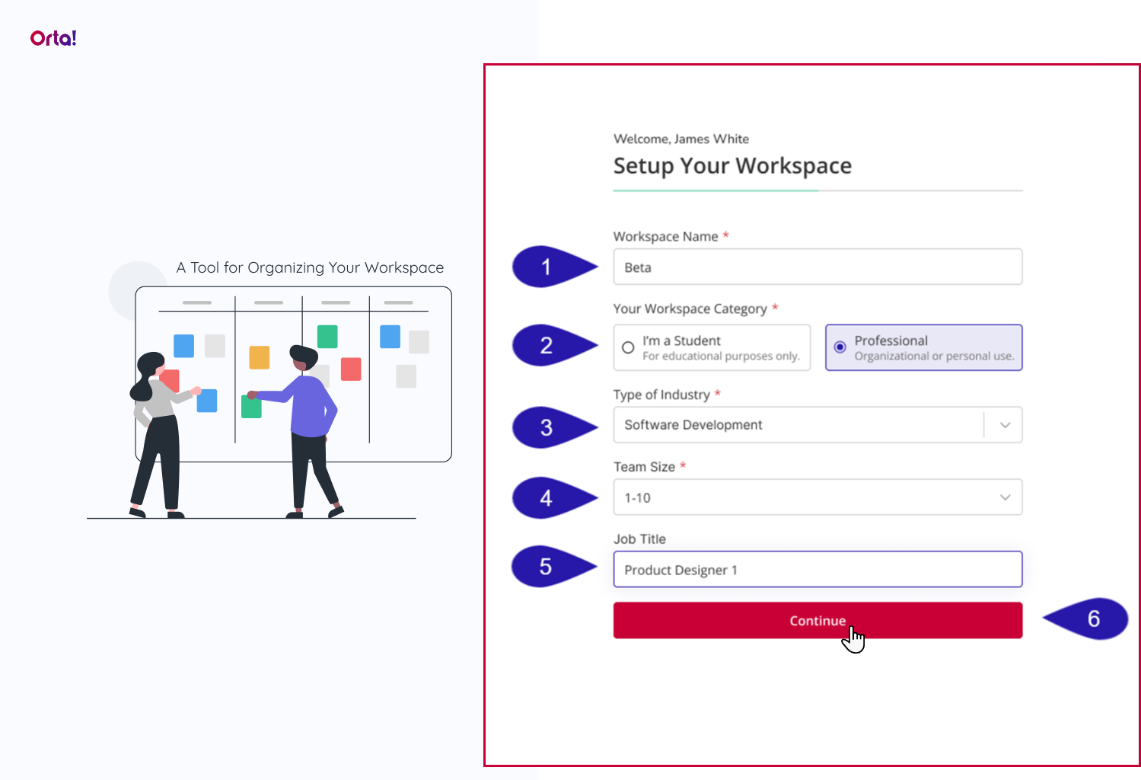
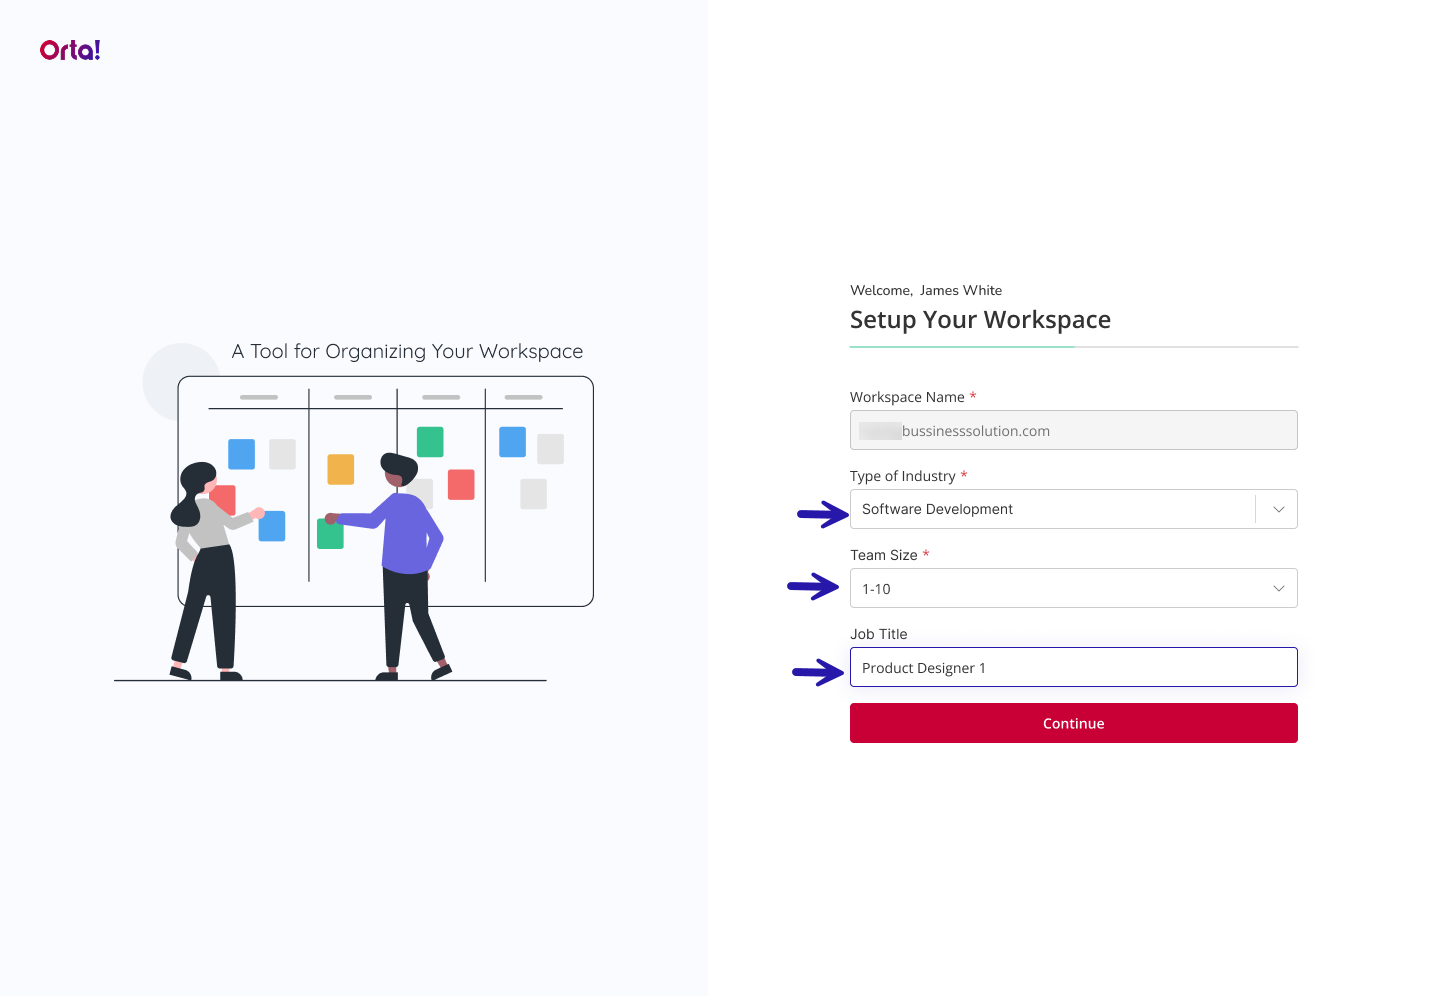
3. Type of Industry:
- Choose an industry from the Type of Industry dropdown.
4. Team Size:
- Choose your Team Size.
5. Job Title:
- Enter your Job Title.
6. Finalize Creation:
- Review your selections and click Continue to finish.
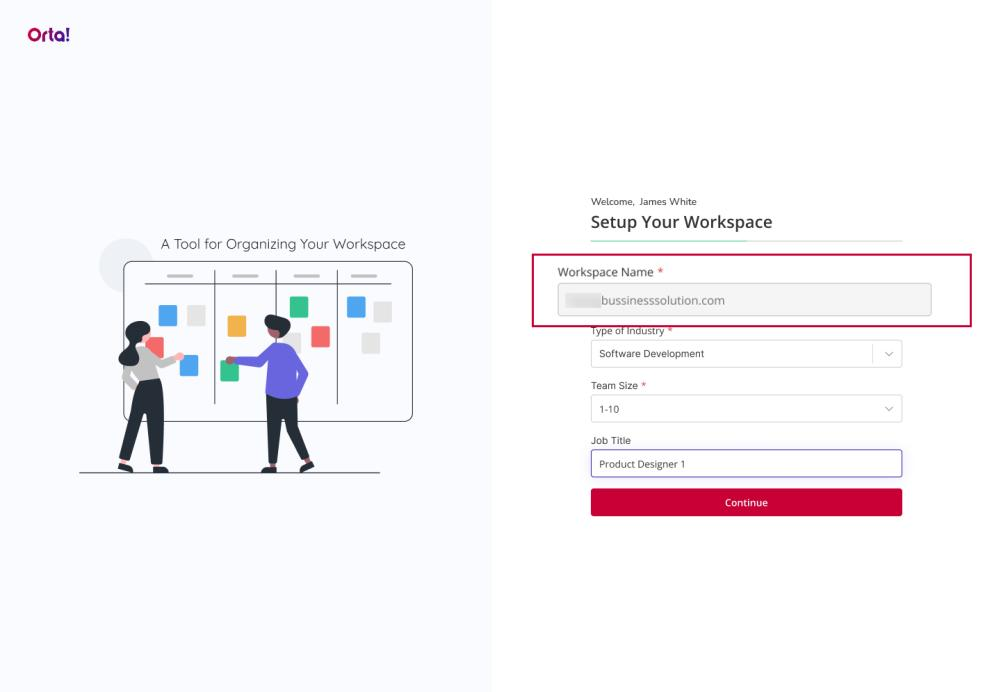
Organizational Email:
Orta will quickly fetch the workspace name for you when you sign up using an organization email address.
If your organization already has a workspace, you’ll be directed to the Join Workspace page when signing up with your organization email. From there, you can choose to join the existing workspace or create a new one.
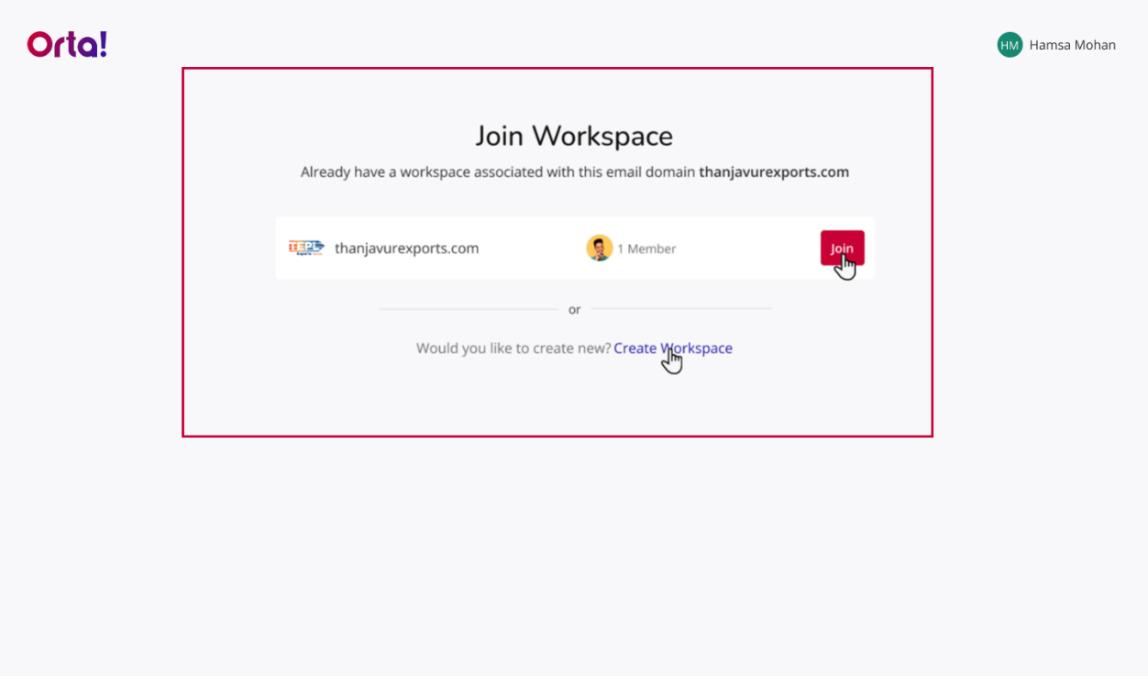
Upon selecting the Create Workspace link, you will be directed Set Your Workspace page. Just select the Type of Industry, Team Size, and Job Title to complete the setup process.
With your workspace ready, it’s time to move on and Create Your First Project to begin organizing your tasks in Orta.