To add an event to your calendar, do the following:
1. Navigate to the Calendar
- Click on the Calendar menu in the Sidebar.
- The Calendar main panel will open.
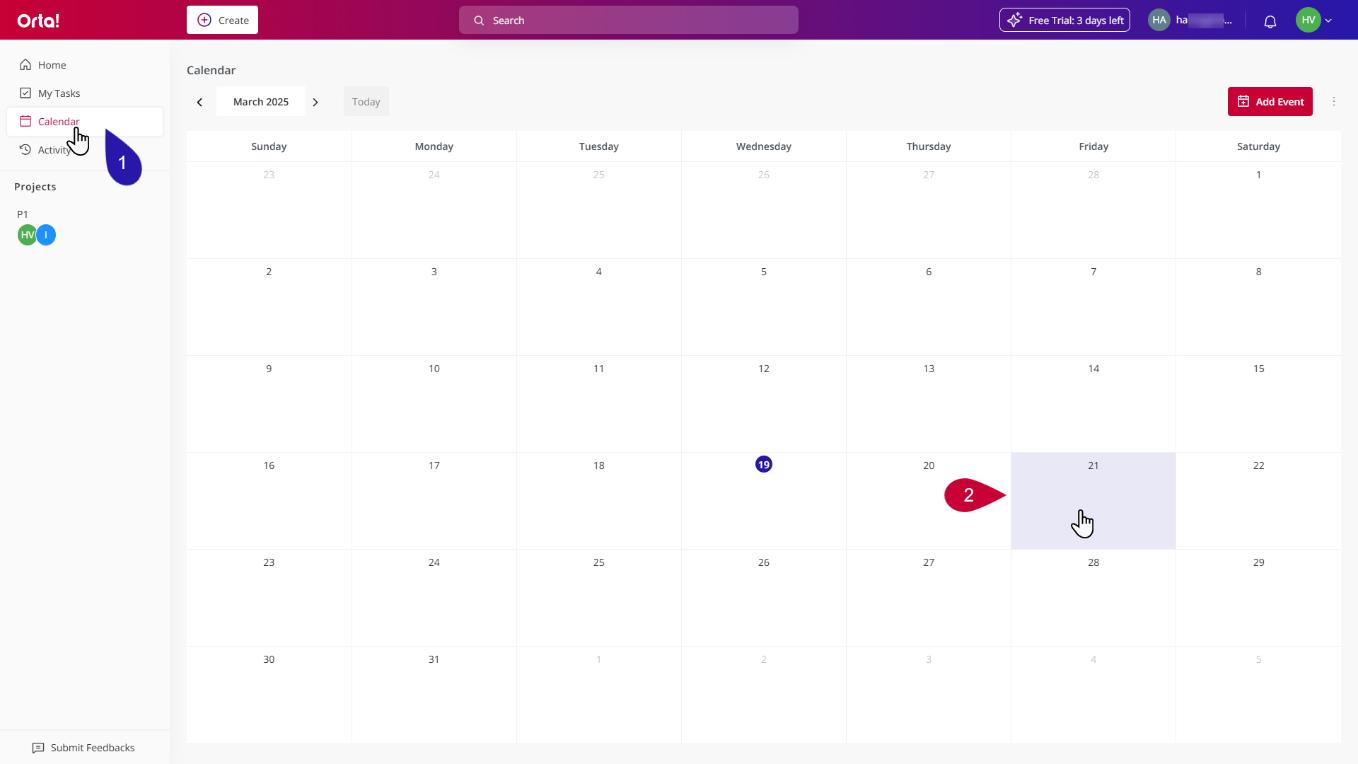
2. Choose a Date
- Click on the date where you want to add an event.
- The Add Event dialog box will appear.
3. Add Event details:
In the Add Event dialog box, fill in the following fields:
- Event Name: Enter a descriptive name for the event in the text box at the top.
- Date and Time:
- Set the event’s start and end dates in the date selector fields.
- Choose the start and end times using the time selectors.
- If the event lasts all day, select the All Day checkbox.
- Repeat Settings:
- If the event repeats, choose the recurrence frequency from the dropdown (e.g., Daily)
- Specify whether the recurrence ends on a specific date or continues indefinitely by selecting Never Ends or Ends on and providing a date.
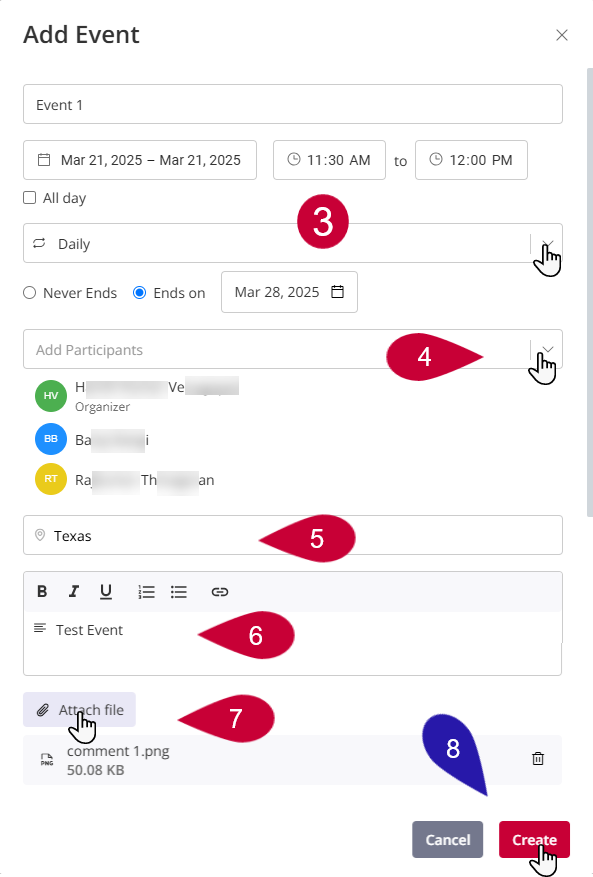
4. Add Participants:
- In the Add Participants field, search for and select required participants from the list.
5. Location:
- Click on Add Location button and specify the location of the event in the provided field (e.g. Texas).
6. Add Description:
- In the text box at the bottom, enter additional details or a description for the event.
- Use the formatting toolbar (bold, italic, bulleted list, etc.) as needed.
7. Attach File
- Click the Attach File button if you need to include a file.
8. Save the Event:
- Once all details are filled, click Create to save the event.
- To cancel the process, select Cancel.
With just a few steps, Orta makes it easy to schedule and manage events, helping users stay productive without missing important milestones.